Latest products
gas grill burner replacement How to Replace a Gas Grill Burner
by:Longzhao BBQ
2020-01-31
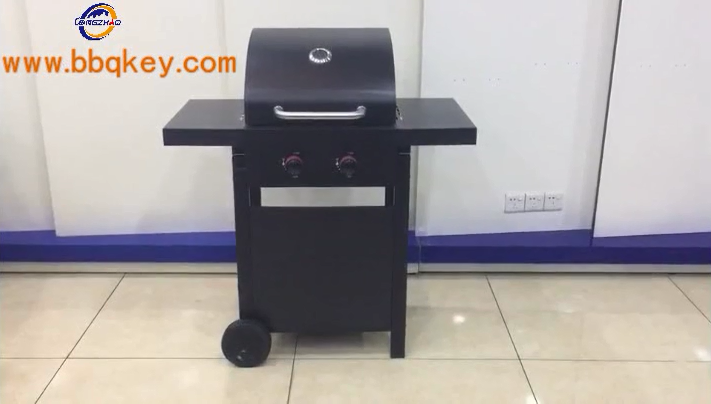
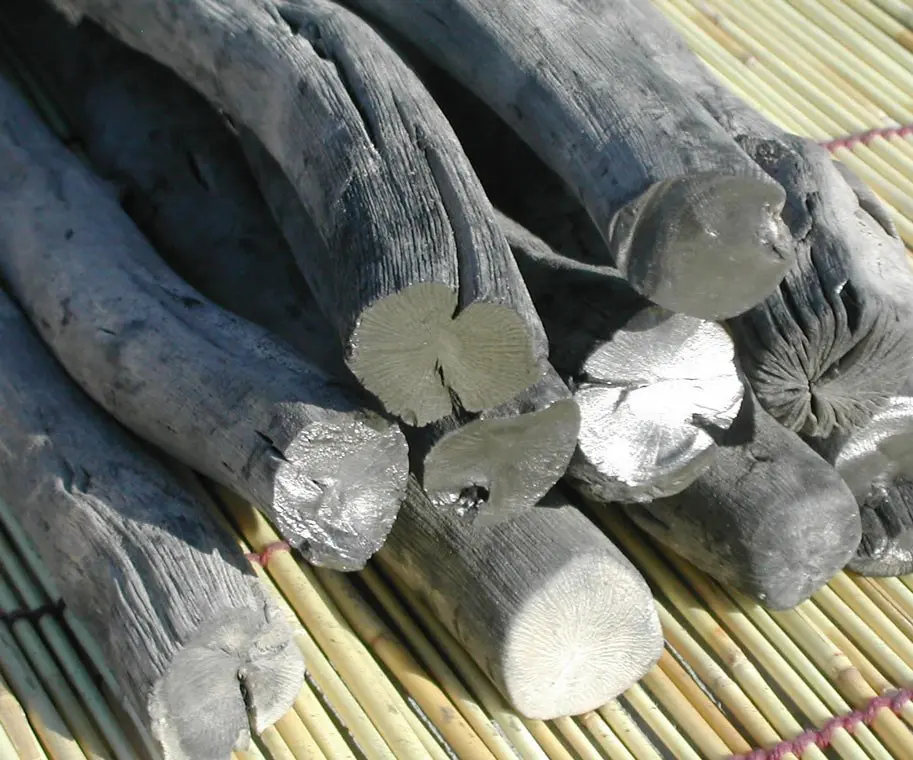
Most gas grills in the country were kicked to the side of the road after several years of service.And a burned-The gas grill burner is a common culprit.You can use this simple fix to inject new life into this Grill for $20 or less instead of putting hundreds of dollars into a brand new grill.The burner is part of a grill that produces flames.Depending on the size of the grill, there may be two to 10 burners inside.It is a good idea to check the burner several times a year for signs of corrosion.Spider webs are another thing to pay attention to, as these small animals like to nest and spawn inside the burner, blocking the flow of gas.Now, let's assume that you have exceeded the range of precautions and your bad gas grill burner needs to be replaced.Here's how to do this in five simple steps.Step 1 if you are unable to purchase an alternative gas grill burner from your local home Center, please check the manufacturer's website.You need the grill model, usually on the back or lower side of the trolley.The single burner starts at about $10;They are usually sold in multiple packages, ideal if you need to replace multiple burners.Step 2 once you have a replacement gas grill burner, you can remove the old one.First disconnect the grill from the propane or natural gas line.For good measurement, make sure all the control knobs are in the off position.Then take out the grate and seasoning stick for cooking, also known as the heating plate.Step 3 Burner is now fully visible and accessible.Although we have found some changes in the assembly process from one brand to the next, in most cases, gas grille burners are fixed in front and back with hardware.In the grill shown in this video (Char-This is a position.For demonstration purposes) the burner is fixed with a pair of cotter pins;You may use screws or other types of fasteners.After removing the pin by hand, we removed a carry-over pipe from the burner.Next, we use a small flat head screwdriver to pry open the clip and remove the burner from the electrode, which provides sparks when igniting the grill.At this time, the burner is freely released from the electrode and valve opening.Be careful in this step not to break or otherwise damage the ceramic insulator around the electrode, otherwise it may be short-circuited.Step 4 of installing the new gas grill burner, you just reverse the same step.In our case, this means reconnecting the burner to the electrode and valve opening, placing the burner on its firebox bracket, reinstalling the carry-forward bracket, and sliding the cotter pin backStep 5 it is a good idea to test the burner before the grill is reassembled.First, reconnect the gas supply line and try to ignite the burner.If there is a gas smell or uneven flame, please close the grill immediately and refer to the trouble-shooting section of the manual.The burner and valve may not engage properly or there may be a problem with the valve regulator.In a pinch, try calling the manufacturer's customer support hotline.If the gas grill burner light up easily and the flame goes smoothly from low to high as the knob turns, you can really light the grill.More information from Consumer Reports: Best-matched washing machine and dryer purchase Guide 8 ways to increase family value consumer reports have nothing to do with any advertisers on this website.All rights reserved©2006-US 2016 Consumer AllianceS.
Custom message