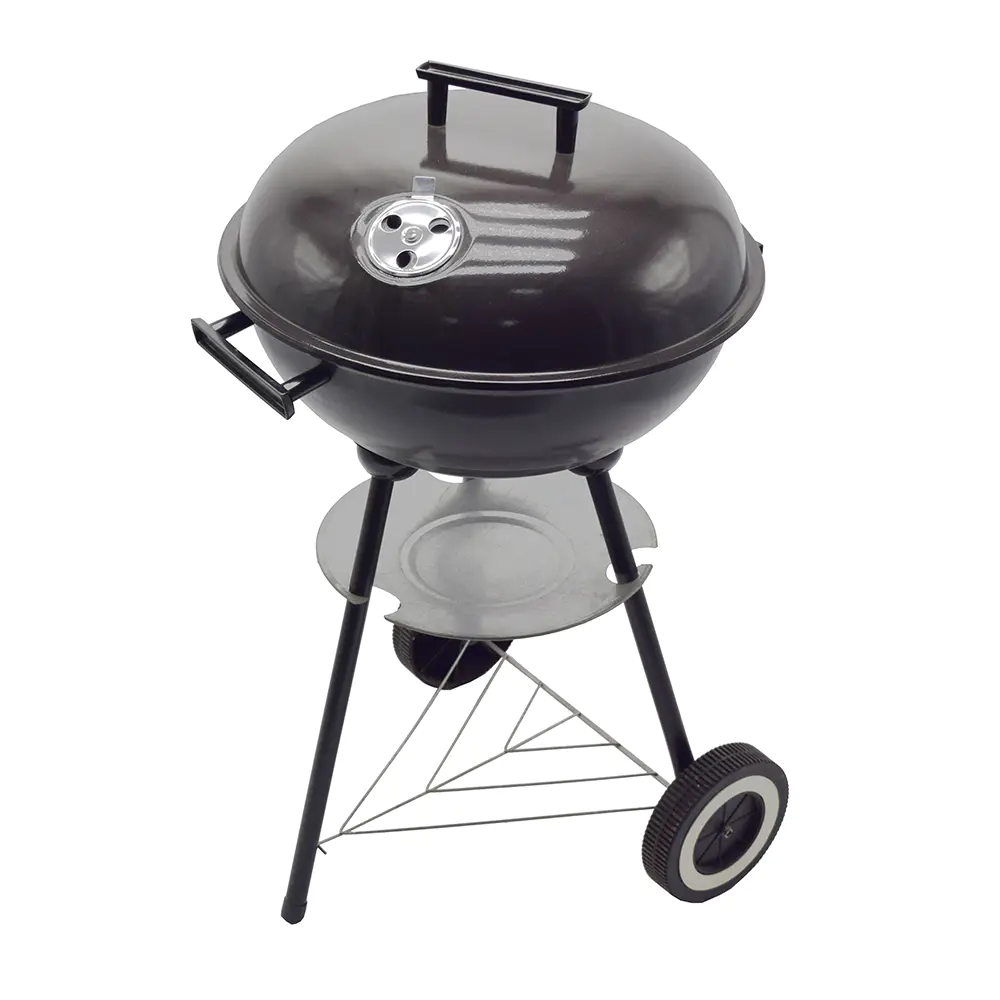
Latest products
How to Make a Propane Forge - 6 burner bbq built in
by:Longzhao BBQ
2020-04-30

In this Instructable I show you how to make efficient propane forging.I made some fake stuff, so I'm pretty clear how they fit together, but I'll give reference and praise to Ron Rey and his designs, this is where I learned how to build them 12 years ago.This forging can be used for knife making, forging, glass making or anything you can think of that needs to heat the material to a very hot temperature.I have access to the welder so I can weld some parts for this forging, but if you have not come into contact or do not know how to weld, one option is, you can put parts together, or you can creatively put things together.How to build an operating propane burner is not included in the steps, and I have another note on this, which you can look at here: Warning: If you have no experience with propane and how it burns, don't try this note.Don't try to do this if you're not happy with propane.Propane is a very safe fuel if used properly, but still bad things can happen.This burner is very large and will damage you and your property.You have been warned that I will not take any responsibility if something goes wrong.Always wear safety equipment when burner lighting and working.At the very least, safety glasses or masks, cotton long sleeves or leather do not wear synthetic materials, as they are on fire and they will melt into your body.Let's start!I highly recommend watching videos of the construction and operation of the forge.The written steps are as follows.I bought kaowool and refractory from other places I found at the hardware store.Trade Center100 The refractory is used to coat the kaowool and it works much better than any other cement/mortar I used in previous forging, such as refractory.I have noticed that it heats up faster than previous forge furnaces using common kiln refractory materials, with less fuel usage (do not remember the model ).If you have extra money to spend on the ITC100.Material: Below is a list of the main tools used and some may not be listed.Tools: a propane burner is needed to power the forging, see two different designs here: see this video for another design of the forging body is a portable air tank.But you can use anything like this, like a used freon or propane tank.I used a steel pipe that I found working very well at the scrap yard.The air tank I use has a built-in stand that prevents it from falling off so it saves me a step or else I need to add some feet.I will let you imagine adding your feet to the tank or tube you are using, and it is recommended to be welding on some big bolts or some tubes.I used a large jar to track the size of the opening.Compass can also be used.I used a thin cut cutting disc on the mini grinder to cut off the end of both ends of the tank.To install the burner, tap and weld a pipe joint to the bottom of the forging.The position of the tube is at the top of the forge and placed at an angle.The hole was marked and cut off. I don't have a hole of the right size, so I drill holes all the time around the circle and then cut it out with Dremel with the cut sheet.Then the pipe joint is specified for one month-32 thread tap.The bolts will put the propane burner in place.The nipple is then welded to the tank, and if you don't have a welder, another option is that the tube can be welded to the tank.If you can find a flange of the right size, it can be bolted to the tank.Here's a note on building a propane burner or a Google Ron Reil propane burner: A fire brick lining is required for forging the bottom.Fireproof brick is a durable flooring material that can be replaced if you do any number of forged welding because the flux will erode the brick.The brick is cut to fit the bottom of the tank, and a brick is cut into a block 1 inch wide as a spacer to lift the floor tile up from the bottom of the tank.See pic.In order to cut the bricks, a wet saw was used, and the other method was to use a chisel and a hammer, but the brick I used was too brittle to be cut using this method.The bricks are placed and then bonded together with high temperature furnace cement.The key materials for forging and insulation are ceramic blankets and plates, which are named after brands such as Kaowool.Blankets can be purchased with different thickness and I would recommend 1 "thick instead of thick because it is easier to use.For this forging, 2 Layers 1 "will be used ".The plate is a rigid ceramic plate for the opening and back wall of forging with a thickness of 1 ".Important!When using these ceramic materials, a high quality respiratory system is worn out and any fibers are vacuumed after cutting.You want to keep these fibers away from your lungs!Measure the perimeter of the forging and then cut the blanket into a suitable size.It's better to cut it a little bigger so you can cut it down.Cutting ceramic wool using a sharp tool knife is very similar to using a House thermal insulation.Two layers are installed, and the bottom of the fire brick is installed some between the spacers.The opening of the propane burner was also cut off.The rear wall is the exhaust port and can also process longer metal in forging.It is made of ceramic plates.In order to make the template, a piece of plastic was put on the opening and tracked it out.It is then transferred to a piece of foam board or cardboard and then traced back to the ceramic board.Cut the board with a tool knife.The blanket in the forging is compressed, so the ceramic back wall is kept in place by friction.In order to keep the forged interior so that it can be approached, a removable front opening is installed.On the forging body, there are bolt holes on a square tube of 1 "x 1", so 10-32 bolts can be installed.The square stock is then welded to the main body of the forging furnace, which can replace brazing again.A front "U" bracket is made of a piece of 14-gauge metal sheet and the template is handed freely, some holes are drilled in order to connect the circuit board.A flat steel stock is bent and welded to the "U" stand.A piece of ceramic plate is cut to be larger than the opening of the forge, but the size of the opening is up to you because in my case it needs to be large enough to fit the pliers in and out.Fix it on the "U" bracket using a thick screw.The "U" bracket assembly is secured in place by flat steel brackets with threaded bolts in square pipes.Ceramic blankets and plates need to be stable so that the fibers do not fall airborne when the forging runs.There are several options for refractory lining, I am using ITC-It looks like 100 HT of cement/mortar, but it can withstand extremely high heat.It needs to be mixed with water, so it's like a mud that can be applied with a paint brush.Consistency should be the same as pancake batter.It is slowly brushed to the inside and outside of the forging, just make sure to cover all exposed Ceramic Fiber surfaces.Other refractory materials can be used, and the application will be similar.Let the refractory dry before operating the forging.Forging with high temperature paint, especially where the metal is exposed.Here are some fake photos, including measurements for reference.Install the propane burner into a forged opening and securely secure it in the appropriate position with bolts.You want the burner, so the nozzle is flush with the inside of the forged wall.Wear safety glasses and have a fire extinguisher nearby.To ignite the forging, use the long BBQ lighter and place the flame near the burner nozzle inside the forging.Slowly turn on propane and the forge will ignite.Leave the forge with low power.Once the refractory is dry, it needs to be cured.Do not operate the forging at full speed until the refractory is cured.Running forging at a lower temperature 15-For 20 minutes, let the ceramic fiber and refractory lining "set ".The Forge is ready for use.Increase the temperature of the propane burner and observe to make sure everything is OK.
Custom message