table top gas bbq Grill and Smoker Table
by:Longzhao BBQ
2020-03-11
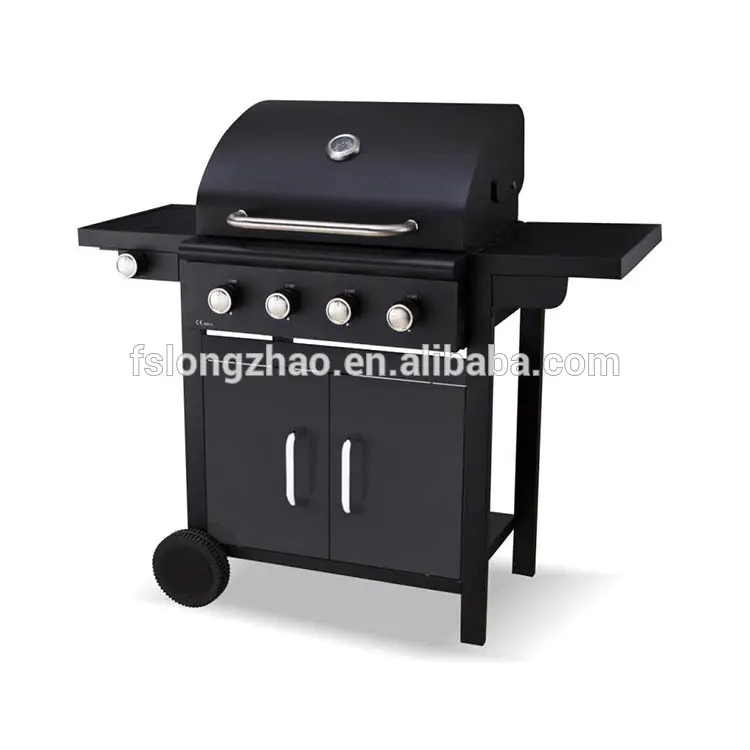
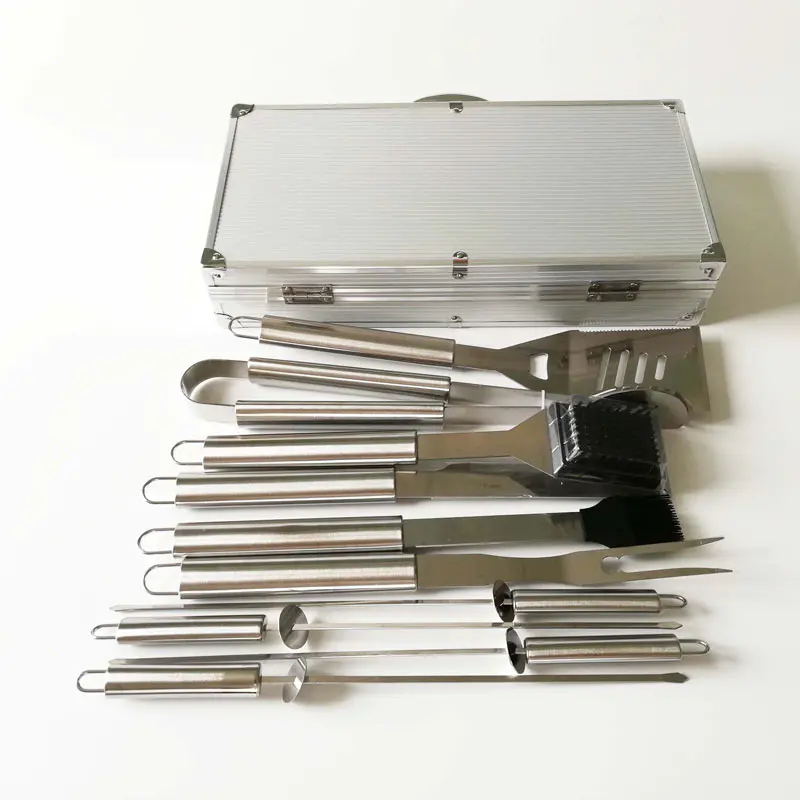
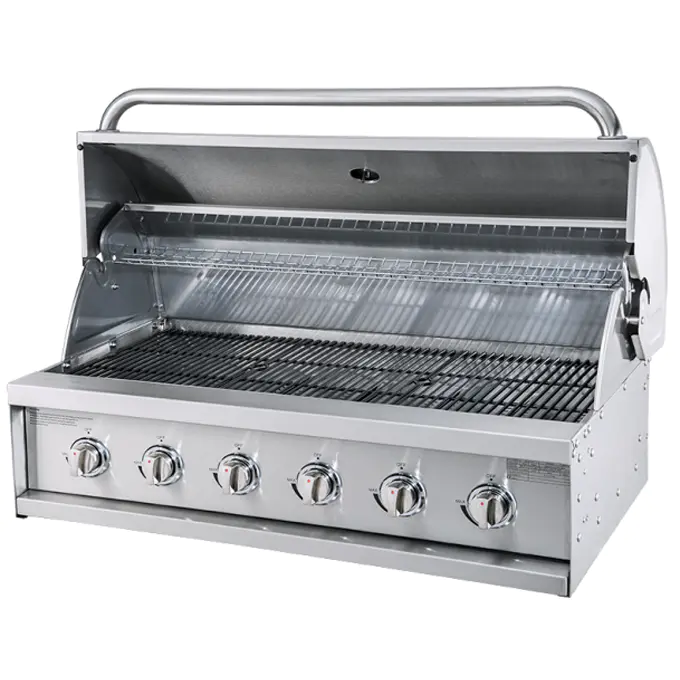
The idea came up when I was having a barbecue dinner.I had pliers in one hand, a heat pad between my teeth, and a glass baking tray with marinated chicken in it waiting for cooking.Why wait??Since I don't have enough table space on my grill to place a baking tray, I can focus on cooking dinner.;) After careful consideration, I realized that I was not the only grill master who had previously held this position.So I opened up some drawing software and started my journey!The first thing.You need a vision to complete this project.My vision looks like the drawing above which I included.I don't want the tool rack at the top to be high, so I use one person's drawings to keep the size and perspective of things.Once you have drawings, you can start collecting tools and materials to start the project.Measure once as usual and cut twice..Or the opposite?I spend most of my time using the waste firewood in the yard.However, I realize that not everyone has the option.In the photo, you will notice that the hind legs have been tied together by some steel brackets, which is because the wood is pre-cut into different sizes for another item.Here is a list of wood types I use: 4x4 wood beams for pressure handling.I used about 18 feet.The top of the table is 4-inch wide x 1/2 thick wood bars or 60x32 granular wood with tiles.What white plastic grid did you choose for the top tool rack and pot rack size of my table as Front Cover 2x6x60: from ground to table top, from ground to tool rack, left to right, from the front to the back, from 36 inch to, this is the basic tool I use: the most important thing is to drill the jig saw the board a pencil cut the two front legs of my desk to about 36 inch high.The hind legs are 72 inch metres from the ground.I chose this height so my drum smoker can sit on the table.Even though in order to use it, I had to lift the grill on the block :) once the legs were cut, I started to frame the legs with the standard 2x4, as shown in the figure.Yes, this is the Santa Clause in the photo.He's my dad and I'm using his studio :) once you start the frame, make sure the frame is level and square or you have a table that shakes back and forth;) Once it's framed, I cover all the wood with external paint to prevent weathering.I used about 2 layers of paint and I had it installed for 6 hours before I started working again.Once the frame is dry, I cut the top of the table from the standard pellet board.Depending on your design, the position of the hole can be placed anywhere you want.I put mine closer to the edge so I have counter space to place food, items, tools, etc.I use the lid of my grill to get an idea of the shape I'm looking.I made the "U"-shaped hole large enough to fit my drum smoker, grill and kebab.I used the standard saw.It's all about cutting holes.After cutting, I tested whether the grill and grill fit.Please note that the grill is on the block and the rotis unit will not work properly if not.It's not a big deal for me.I might build a second leg for the grill to make it higher.After making sure the hole is up to standard, I applied a layer of top with the gripperz paint.KIt is a very thick and sticky paint that can be applied to tiles, cement, glass and almost anything.It will stick to it and become waterproof.The top is still in good condition until today.Once painted, I allow the drying for a few hours and start the construction on the design to place it on the painted pellet board.I covered the top of the paint with wooden strips.I want it to look like "wood floor ".As you can see in the picture, I covered the top of the painting with pine slats.I cut them into the size I want and screw them to the top.On the right side of my counter space, the weight of the wood causes the top to bend, and to ensure stability, an extra leg is added under that section.The slats are covered with what I think is waterproof oil, but after a year they are distorted and need to be replaced now.Be sure to cover all the slats with high quality exterior paint so that rain, snow and sunshine do not damage the product.When you're done, add a decorative grid to the front and you're ready!I hope you all enjoy this guidance.able.It's fun to design this table and share it with others so they can have a wonderful summer and BBQ season.
Custom message