The Ultimate Essential BBQ Tool Planning Checklist For Hosting BBQ Party
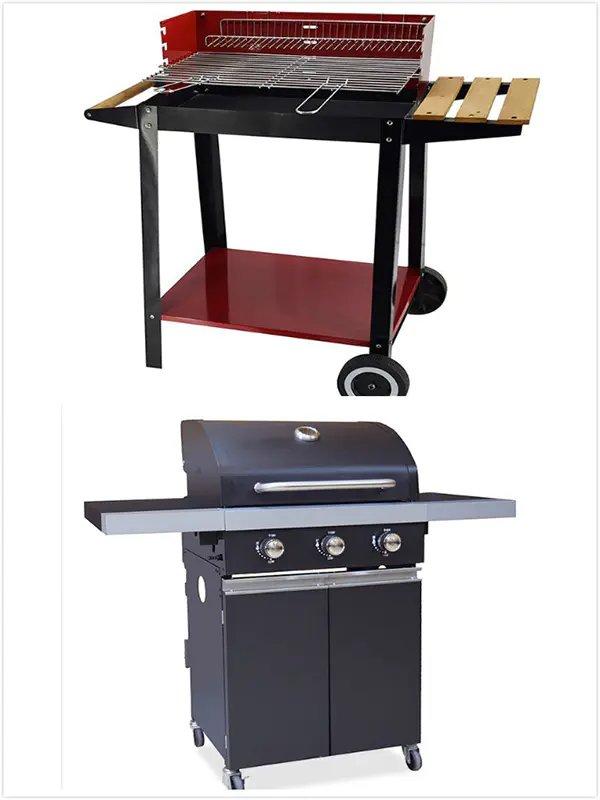
diy stainless steel bbq with double layer bottom
by:Longzhao BBQ
2020-06-15
DIY stainless steel (AISI 304)
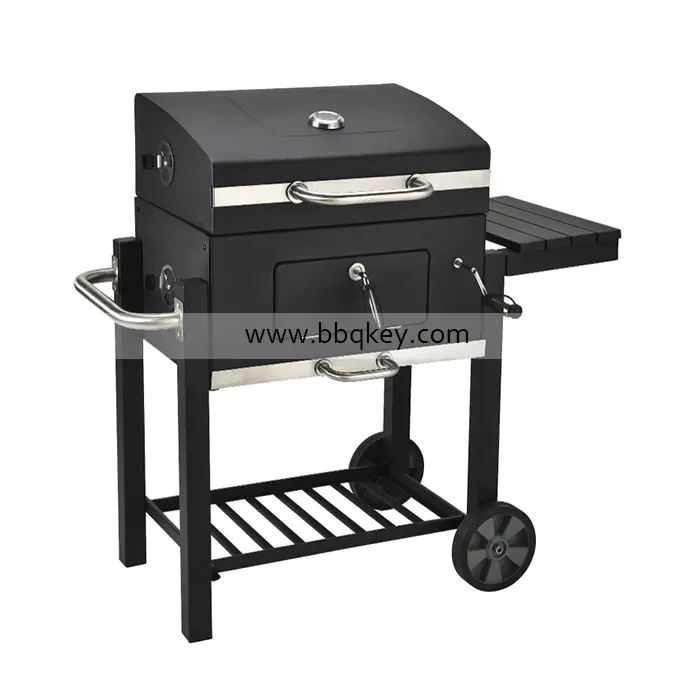
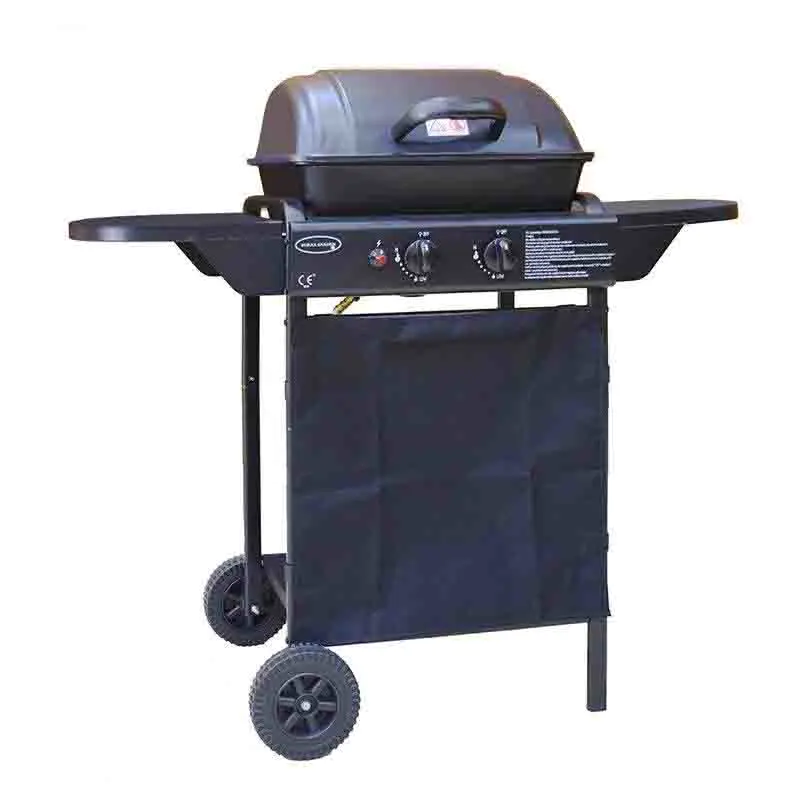
Double bottom barbecue.
The second layer protects the bottom of the barbecue from the BBQ size 500x3 40 x 110mmbase size 510x350x690 total height base + BBQ 740 stainless steel is a type containing at least 10% chromiumCr).
The addition of chromium defines the unique properties of stainless steel, corrosion and heat resistance.
The chromium content of the steel allows the formation of invisible corrosion-
Anti-oxidation chromium film on steel surface.
If mechanical or chemical damage, this film is from
Providing oxygen, even a very small amount of oxygen, can be cured.
A common form of rusty stainless steel is after stainless steel is exposed to very high temperatures (400-850°C)or (750-1550°F).
If this happens, sensitivity increases occur, where carbon and chromium are combined in stainless steel and form carbide.
These carbide are located at the grain boundary of stainless steel, and the grain boundary is short of chromium.
In the case of low chromium concentration at grain boundaries, chromium oxide protective film becomes discontinuous and begins to rust.
Type 430 stainless steel (magnetic)
Also known as 18/c type stainless steel 304 (non-magnetic)
Also known as 18/8, it is divided into 18% chromium and 8% nickel stainless steel type 316 (non-magnetic)
It is also known as 18/10 because of its composition of 18% chromium and 10% nickel. If you are interested in sheet metal dynamic, you can visit my guide page, simple version modified version, magnetic or non-magnetic grade for bb stainless steel
Magnetic AISI 430, 304, 308, 316 on any surface: shiny, smooth, mat, satin.
Recommended: as a cheaper option, magnetic AISI 430 recommended: non
Strong magnetic, AISI 304 AISI 308
More expensive than 304)& AISI 316 (
More expensive than 308)
But I think it\'s a bit exaggerated. For Base1.
The angle iron is about 3mm at 30x6 m².
20x3mm treaty 0. 5m3.
Galvanized steel grille 4.
The rod electrode is 6013 2.
The red line represents bending. The green line stands for the first safety of cutsmember.
Welding cutting and grinding tools are dangerous!
Take risks yourself!
Use the right protective equipment at all times.
Make sure the sheet metal sheet is orthogonal before starting the drawing process.
Sketch/plan drawing on sheet metal with cutting and bending (
AISI 304 810x650x0. 70mm)
Use square toolscaliper -rule -mark scriber -
At this point, let\'s assume that all the cuts are on the bending line.
Mark a line at a distance of 155mm from each edge of sheet metal.
At a distance of 45mm, then do the same thing at a distance of 25mm.
Mark the small incision at a short edge 175mm from the long edge.
Check the measured value and rectangle degree of the rectangular shape.
Errors in this step may lead to unexpected and irreversible failures in subsequent steps.
Layout and drill 4mm holes at 8 points of intersection cutting and bending.
When drilling, use a piece of wood under sheet metal to avoid damage on the bench.
These holes help to make a clear cut and stop the tension that is bent on each curved edge.
In the previous steps, we assumed that all the cuts were on the bending line, but this was not the case.
The short side needs to be a little shorter, about 1mm from the edge.
With this tolerance, we will be able to correct small mistakes (if any)
Assembly will be done too easily.
Looking back, the cut on the long edge must be done on the outside of the line and adjacent to the line.
On the short side, the cutting must be carried out on the inside of the line and adjacent to the line.
Stainless steel cutting sheet 1mm is required.
Fix sheet metal so that it cannot move or vibrate.
The use of two pieces of wood and one clip is good enough (see photos).
Start cutting slowly and steadily without any rush.
Yes, I know what you can tell me. A.
Use the ground sanding flap disc and refine the cut to make it smooth enough.
Using my sheet metal brake, start with the long side first and do all the simple bending.
Adjust the clamping Rod according to the material thickness to place the sheet metal on the broken bed-
Tighten the brake after adjustment.
Push the bending handle to 90 degree bend. (
Need to push a little more than 90 °)
I don\'t think a more detailed description is needed for this step.
You can follow the photo or watch the video with the bending process, because the setting of the brake needs to be changed, so in order to be able to bend the box, replace the tightening bolt of the clamping Rod (brake)
12x220 with bolts.
Adjust the clamping Rod according to the material thickness and fix the bolt using the locking nut so as not to move.
Also needed: you can track photos or watch videos here with this bending process, placing sheet metal in the center of the brake bed.
Location: flat bar-stock steel -wood pieces -
Then tighten the clamping rod.
Use a piece of wood between long edges to increase free space.
Bend the short edge until the bending touches on the long side.
Put a square tube e. g.
20x20mm or push a stock steel onto the bending unit and push the bending more than 90 degrees.
Do the same thing on the other side.
In the last three photos, you can see another similar way of this bending, using a piece of angle iron, some wood and two clips.
To make the four corner joints, we can use the two scraps left by the cut.
The size of these parts is a little smaller than planned, but it\'s not a big deal. (
Plan 80x100mm, one waste 77x100mm 2)
Make a mark line of 100mm from one edge.
Make a second cross Mark line in the middle of the work in order to be divided into two equal parts.
Do the same thing in the second block. Do the cuts.
There are now four rectangular blocks that are almost equal.
From the corner of the short side to the left/right 25mm mark the point of the bevel cut.
The other three did the same.
Refine the cut using a ground sanding flap plate and make the corners very smooth.
Paved, drill four 4mm holes on each piece.
The center of the hole must be as follows: Clean the hole using the counter table.
Bend the joint 90 ° using a sheet metal brake.
Fix everything with a rope.
I started the rivets, first the four upper side corners, and then the corner joint one by one.
Drill/rivet one hole, another hole, etc.
Someone can say: why not, stainless steel rivets?
OK, I agree, stainless steel is always the best option, but if you have a rivet tool that fits the SS rivets.
I don\'t want to buy a SS rivet tool or kill my rivet tool with SS rivets.
Anyway, the aluminum melts at 660 °C or 1220 °F, so (Al)
The rivets are not a bad choice.
For the second layer, four pieces of stainless steel 490x140x0 are required. 60mm.
This layer is removable and can be easily replaced with hundreds of barbecues in a few years without the need to make a new one.
Cut and bend four pieces, arranged side by side at the bottom of the barbecue.
The base for making the BBQ needs a angle iron of 30x3mm, about 6 m, and a flat strip of 20x3mm is about 0.
5 m and a galvanized steel mesh of about 500x400mm.
Angle Iron cut length of 2 pcs 508mm and 2 pcs 348mm (
Must cut edge at 45 °)
With the exception of 4 pcs 60mm, all other cuts are straight, and the 4 pcs also have a 45 ° slope on the top edge of the angle side. (
15 MMM from top, 15mm from side)
4 pcs 600mm 2 pcs 448mm 2 pcs 288mm adjust and carry out adhesive welding with 45 ° Bevel cutting piece, Assembly will place upper frame of barbecueweld.
Use the sub-handle and two pieces of angle iron to install/weld the feet one by one in each corner of the frame.
Install/weld the parts of the frame under 80mm from the edge of the foot (
This frame can be used as a shelf for charcoal).
20x3mm flat strips cut two pieces of 250mm length for the handle.
At a distance of 50mm from the two edges, 90 ° bending is performed.
Install/weld the handle in the middle of the short edge of the upper frame.
The galvanized steel grille is placed on the lower frame with a galvanized steel grille of about 500x400mm, and the shelf is ready.
Thank you for reading.
Good luck if you try.
Don\'t say I can\'t.
Need is the mother of invention.
Custom message
Related Products