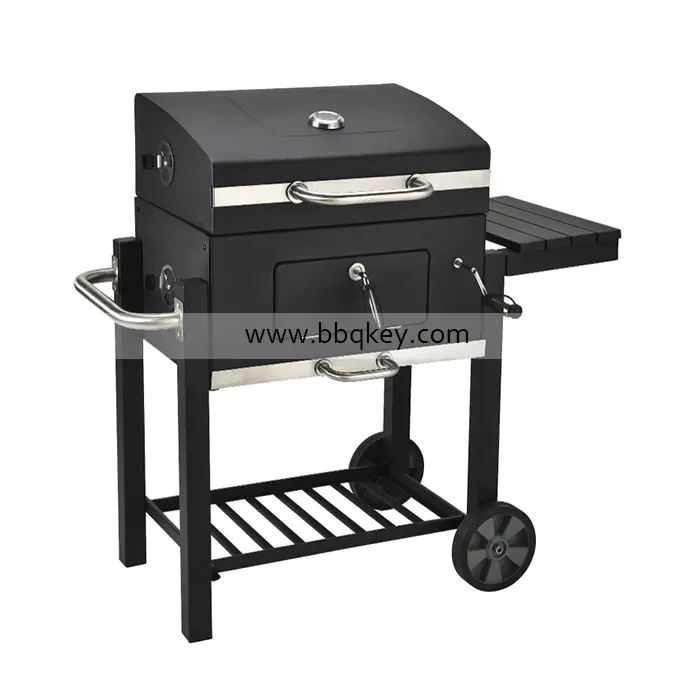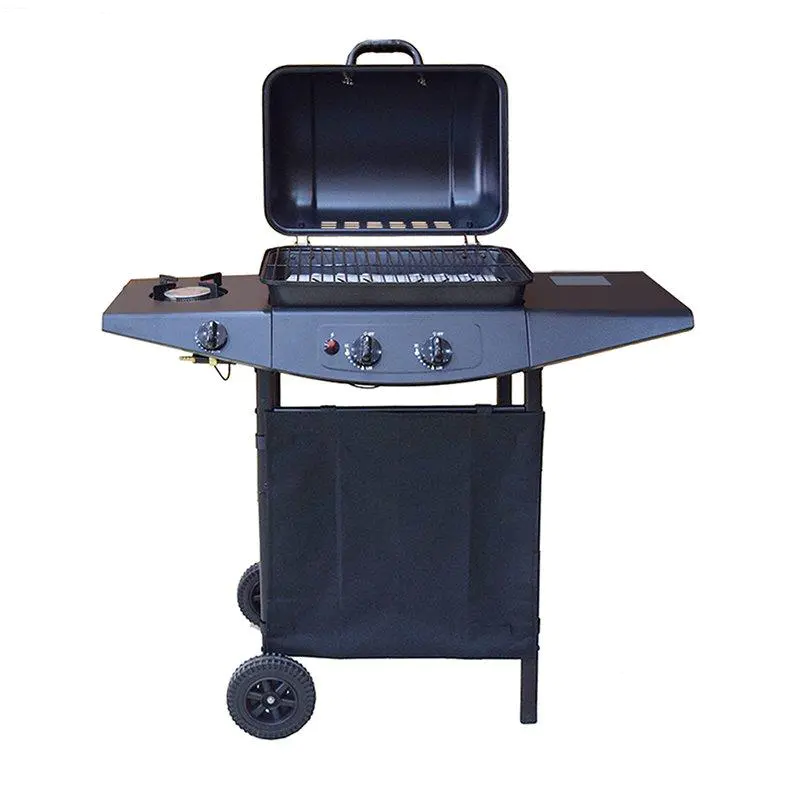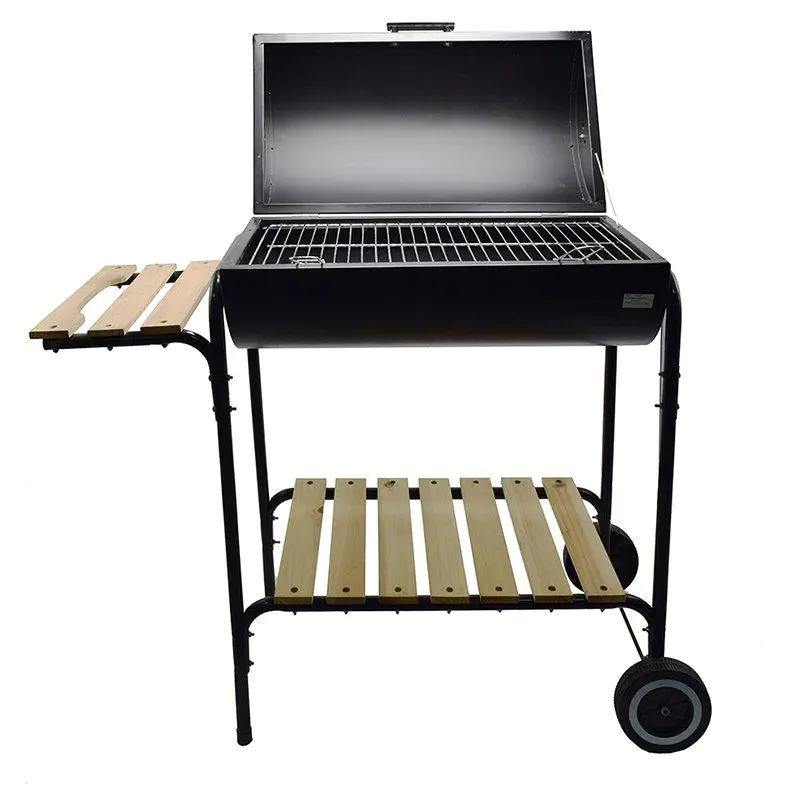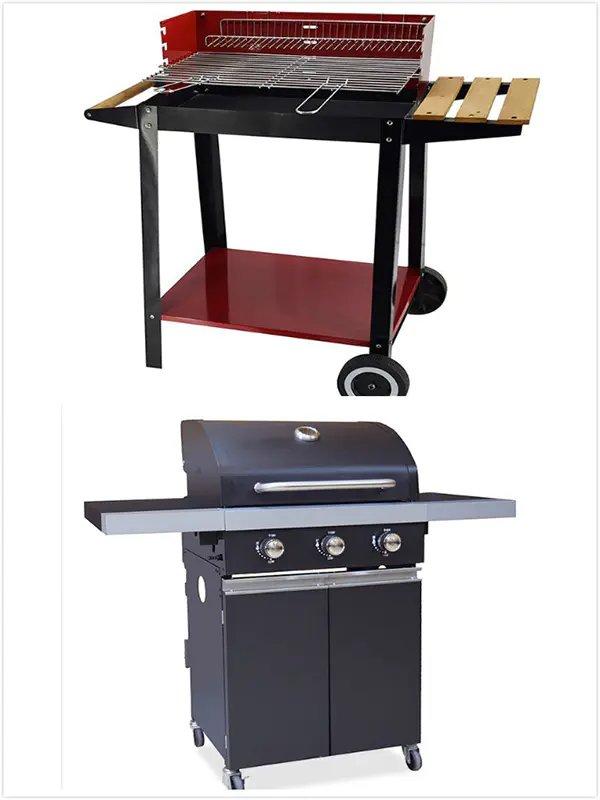
The Ultimate Essential BBQ Tool Planning Checklist For Hosting BBQ Party
how to : build a bomb-defusing robot tank for the revolution
by:Longzhao BBQ
2020-06-12
The war left many things behind.
Torn Families, deleted institutions, mass graves, and unexploded regulations fill the post-occupation landscape.
Whether you are driving imperialism out or still in an armed resistance phase, you need the ability to spread bombs safely.
My bomb removed Sylvia.
Robots can do it all.
She can grab grass gras, cut wires, collect samples, tase enemies, and even play chess!
Material Step 1: There is no point in assembling the robot arm.
The OWI robot arm edge kit comes with a complete set of instructions including a 1:1 scale image of all components for easy identification of the components.
Give yourself an afternoon to continue this.
It\'s not complicated, but it\'s a bit picky.
Make sure your motor housing is tightened before activating the last robot arm.
Once you have finished your arms, there is no doubt that you will feel the need to manipulate objects with robots around your house.
It doesn\'t matter. Take a moment to enjoy this achievement.
Step 2: ChassisYou need to find a chassis large enough to support the robot arm and stable enough that it doesn\'t fall down when the arm swings around.
Luckily I spent 5 bucks stealing a bad RAD robot at the flea market!
It has a lot of space on its arm, a wide base and even a tank pedal!
To make room for the arm, I just need to remove the humanoid part above.
There are two gearboxes and six wires in the base.
Two wires power the robot, two wires power the Left motor, and the last one power the right motor.
Image taken by EZ RobotImage via OxfamStep 3: Which wire did I cut! ?
Really, you don\'t need to cut off any wires, but you need to figure out which ones can be connected to the motor.
The black and red wires are the power cord from the battery.
We don\'t need these, you can cut them off if you want them out of the way.
The remaining four wires are connected to two motors.
Connect the four wires in turn to the battery to find out which pair of wires control which motor.
Once you have two wires for the same motor, try connecting the wires back to reverse the direction of the motor.
Do this with both Motors to make sure the gears, motors and pedals are fully functional.
Step 4: We know that our motor can rotate the H-bridge relay StyleNow in both directions, and we need to create an H-bridge that allows us to switch directions when the switch is flipped.
In this article, we used a prefabricated H-bridge chip to simplify the process.
This time, we will learn more about the H-bridge theory by using relays to build our own H-bridge theory from scratch.
If you remember our previous H bridge article, the H bridge is a circuit that allows us to reverse the polarity of the motor and thus change the direction of the motor.
The image of wcyrill buttery notice in the above image notes the four switches around the motor?
The motor rotates in one direction when S1 and S4 are connected.
The motor rotates in reverse when S3 and S2 are connected.
Instead of using each motor of the monthly switch, we will use two single-pull, double-throw (SPDT)relays.
The SPDT relay is like a switch with two on states.
The traditional switch turns the light on one way, and the other turns the light off.
SPDT relay flip a way to connect one side of the motor to the power supply, flip the other side to connect the other side of the motor to the power supply.
With another relay to switch the ground side of the motor, we can control the direction of the motor.
Above, the throttle switch controls all power supplies entering the system.
If you don\'t press the switch, nothing will work.
The switch on the right is used to reverse the direction of the motor.
If you walk along the blue wires, you will see them powering the relay coils.
When the second switch is flipped, the power supply flows into the relay coil, flipping the internal switch and reversing the motor like the first four switch diagrams.
Create this circuit twice with two motors and four SPDT relays.
Be sure to connect them to a common power supply and ground.
This is the final look of my board.
Note that the throttle switch with a short button works better.
This allows you to brake the robot by simply releasing the button and cutting off the power of the motor and relay.
Step 5: install ArmNow motor control has been set and we can install robot arm on our chassis.
I just hot stuck every corner on the base of the tank.
It stays good even when hitting a wall and setting up a rat trap.
To fit the robot arm, I had to modify part of the shell.
I cut the center of the lid with soldering iron and pliers.
I would recommend using hacksaw if you have a handy one.
The burning plastic releases some bad smoke. Step 6: Power!
Fortunately, the 4 D battery that powers the robot arm has enough punch to turn our tank track.
Weld the power and ground connection on the robot\'s arm to the main power supply and ground track on the relay board.
Press and hold the instant button and your motor should start turning.
Play around using the left and right track switch to get the suspension of the two track controls.
Step 7: The controller robot arm is already equipped with a very beautiful controller.
The five switches control the shoulders, elbows, wrists and holders on the arm.
All we need to do is add the instantaneous throttle button and two tank track switches to the control box.
I decided to install the water tank controller in a separate housing.
This makes it possible to have two operators at the same time, doubling the fun of lifting the regulations.
Six wires from the base to the fuel tank controller.
Each switch has two lines: an instant throttle button, a left track switch, and a right track switch.
Step 8: PaintI drew my Silvia-
Because this is the only paint color I have.
Be sure to cover up any part you don\'t want to paint.
Plastic bags work very well to protect the paint. Step 9: hell! A Robot!
Now that you put the robot in a feature, it\'s time to get it to work!
I played rat traps for hours, played chess, collected rock samples and tasted cans of Altoids.
Some other possible uses include the removal of bombs, the removal of the hive, the spraying of the hive, the disposal of kitchen biohazards, and the disposal of unexploded fireworks. . .
The list is endless.
Look at this video of Silvia. bot in action!
That\'s me singing a song in the first half of the video.
Although the next step for this robot is remote control in order to more safely disarm bees and bombs.
What else should we add to Silvia? bot?
Ideally, Silvia-
Robots will one day become an autonomous rover of the Earth, perhaps looking for water, methane gas, or radiation.
For now, though, I prefer to use a bomb robot to take out traps with mice.
Custom message
Related Products